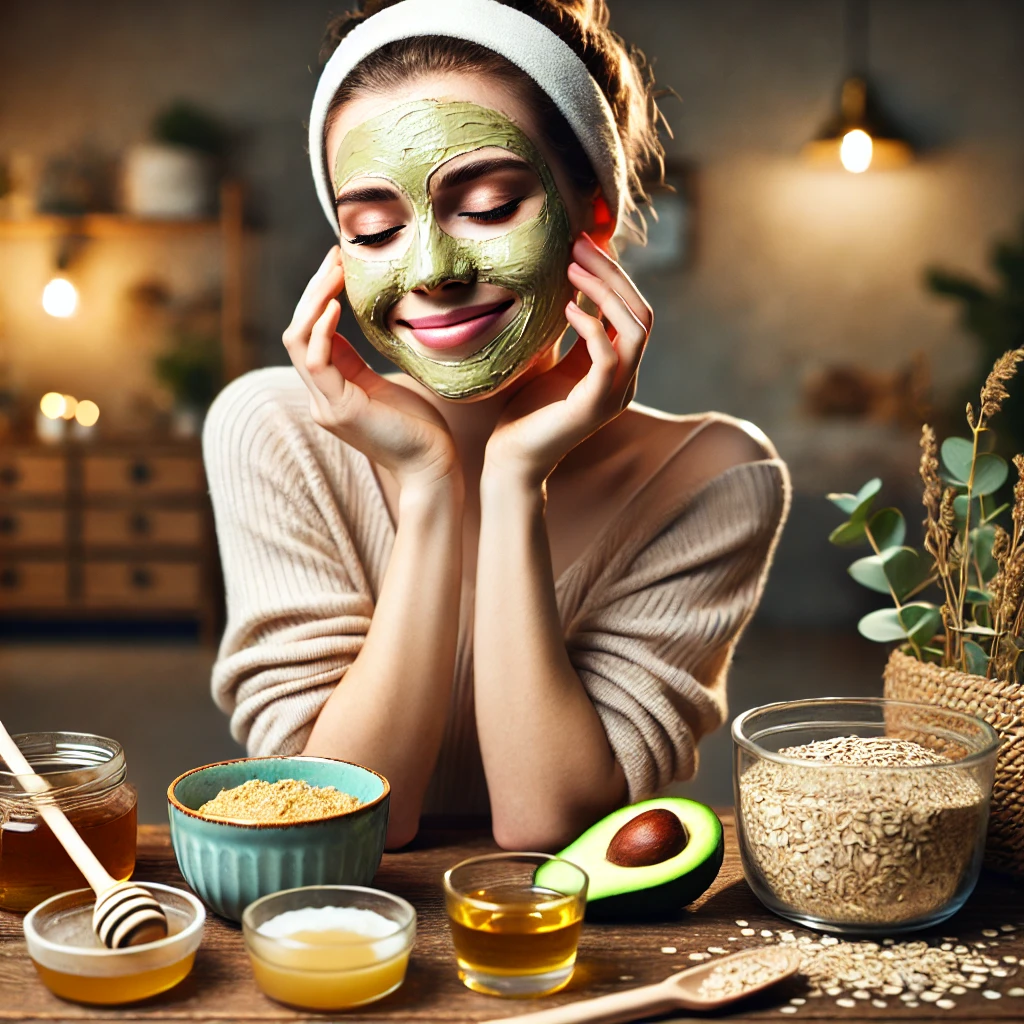
Have you ever thought about making your own face mask at home? It’s easier than you think, fun to create, and gives you control over what goes on your skin. Whether you’re looking to rejuvenate your skin, soothe irritation, or just have a relaxing spa day at home, a homemade face mask is the perfect solution. Plus, you probably already have the ingredients in your kitchen! Let’s dive into the art of crafting your very own face mask and discover how simple, cost-effective, and rewarding it can be.
Table of Contents
1.Introduction to Face Masks
Face masks are an essential part of a well-rounded skincare routine, often referred to as the cherry on top of your skincare cake. They have been used for centuries across different cultures to enhance skin health and appearance. Ancient Egyptians, for example, used masks made of clay and honey to keep their skin radiant in the harsh desert climate, while traditional Asian beauty rituals often incorporated ingredients like rice water and herbal blends.
But what makes face masks so special? Unlike daily skincare products, masks deliver concentrated ingredients directly to your skin. Think of them as a power-packed treat that gives your skin an instant boost. Whether you want to cleanse, hydrate, brighten, or calm your skin, there’s a face mask for every need.
In today’s world, with the rising trend of DIY solutions, homemade face masks have gained massive popularity. Not only are they customizable and affordable, but they also offer a fun, creative way to care for your skin. And let’s not forget – it’s incredibly satisfying to whip up something yourself, knowing exactly what’s going into it. Ready to get started? Let’s dive deeper into the benefits of making your own face masks.
2.Benefits of Homemade Face Masks
Why should you ditch the store-bought masks and opt for homemade ones? Here are some compelling reasons:
1. You Control the Ingredients
One of the biggest perks of making your own face mask is knowing exactly what’s in it. Many commercial masks contain preservatives, artificial fragrances, and chemicals that might irritate sensitive skin. With homemade masks, you can choose fresh, natural ingredients tailored to your specific skin concerns.
2. Budget-Friendly Skincare
Store-bought masks can be pricey, especially if they’re marketed as luxury or specialty items. On the other hand, most homemade masks can be made with ingredients you already have in your kitchen. For instance, honey, oats, or yogurt are all affordable and versatile staples for DIY skincare.
3. Tailored to Your Skin Type
Unlike one-size-fits-all products, homemade masks can be customized to suit your unique skin needs. Have dry skin? Add avocado or honey. Battling oily skin? Go for clay or lemon. The possibilities are endless, and you’re in full control of the recipe.
4. Eco-Friendly and Sustainable
By making your own masks, you’re reducing packaging waste and the environmental footprint associated with mass-produced products. It’s a small step towards a more sustainable skincare routine.
5. Relaxation and Self-Care
There’s something inherently relaxing about mixing up your own skincare concoction. It’s a mindful activity that allows you to slow down and enjoy the process. Plus, applying a mask feels like a mini spa session – a perfect way to unwind after a busy day.
6. Immediate Freshness
Homemade masks don’t need preservatives because they’re meant to be used immediately. This means you’re applying fresh, nutrient-rich ingredients to your skin without any compromise in quality.
In summary, homemade face masks are not just about skincare – they’re about empowerment. They allow you to take control of your beauty routine, prioritize natural ingredients, and indulge in a little self-love. If you’ve ever thought, “Is making a face mask really worth the effort?” the answer is a resounding yes!
3.Essential Ingredients for Face Masks
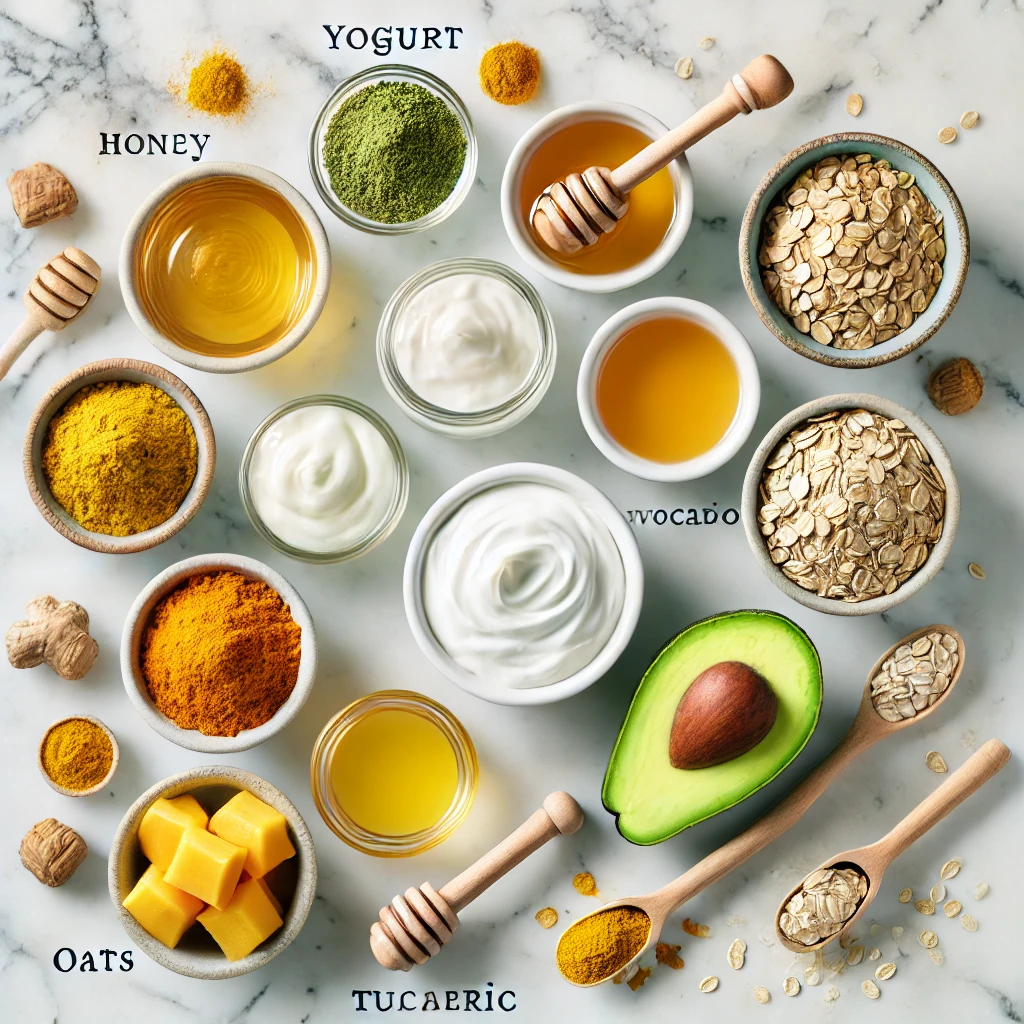
When it comes to homemade face masks, the ingredients are the stars of the show. The best part? Many of these skin-loving items are already sitting in your pantry or fridge. Each ingredient serves a purpose, targeting specific skin concerns while ensuring your mask is both effective and nourishing. Here’s a closer look at some must-have ingredients for DIY face masks:
1. Honey
Known as “liquid gold,” honey is a powerhouse of hydration. It’s naturally antibacterial, making it great for acne-prone skin, while also locking in moisture for a radiant glow.
2. Oatmeal
Gentle yet effective, oatmeal is perfect for sensitive or irritated skin. It soothes redness, reduces inflammation, and provides a mild exfoliating effect when used as a scrub.
3. Avocado
Rich in healthy fats and vitamins, avocado is like a superfood for your skin. It deeply hydrates, nourishes, and helps improve skin elasticity, making it ideal for dry or mature skin.
4. Turmeric
This vibrant yellow spice isn’t just for cooking; it’s a natural anti-inflammatory that can reduce redness and brighten your complexion. A little goes a long way, so use sparingly.
5. Aloe Vera
Aloe vera gel is a skin-soothing savior. It calms sunburn, reduces irritation, and hydrates without leaving a greasy feel, making it suitable for all skin types.
6. Yogurt
Yogurt contains lactic acid, which gently exfoliates dead skin cells, leaving your face smooth and glowing. It’s also cooling and hydrating, perfect for post-sun exposure.
7. Lemon
Packed with vitamin C, lemon juice brightens skin and helps lighten dark spots. However, it should be used cautiously, especially on sensitive skin, as it can be acidic.
8. Green Tea
Green tea is rich in antioxidants, which help combat free radicals and reduce signs of aging. Use brewed tea or matcha powder for a refreshing and revitalizing mask.
9. Coconut Oil
Coconut oil is deeply moisturizing and great for dry skin. Its antibacterial properties also make it beneficial for acne-prone areas, but it might not suit oily skin types.
4.Tools You’ll Need
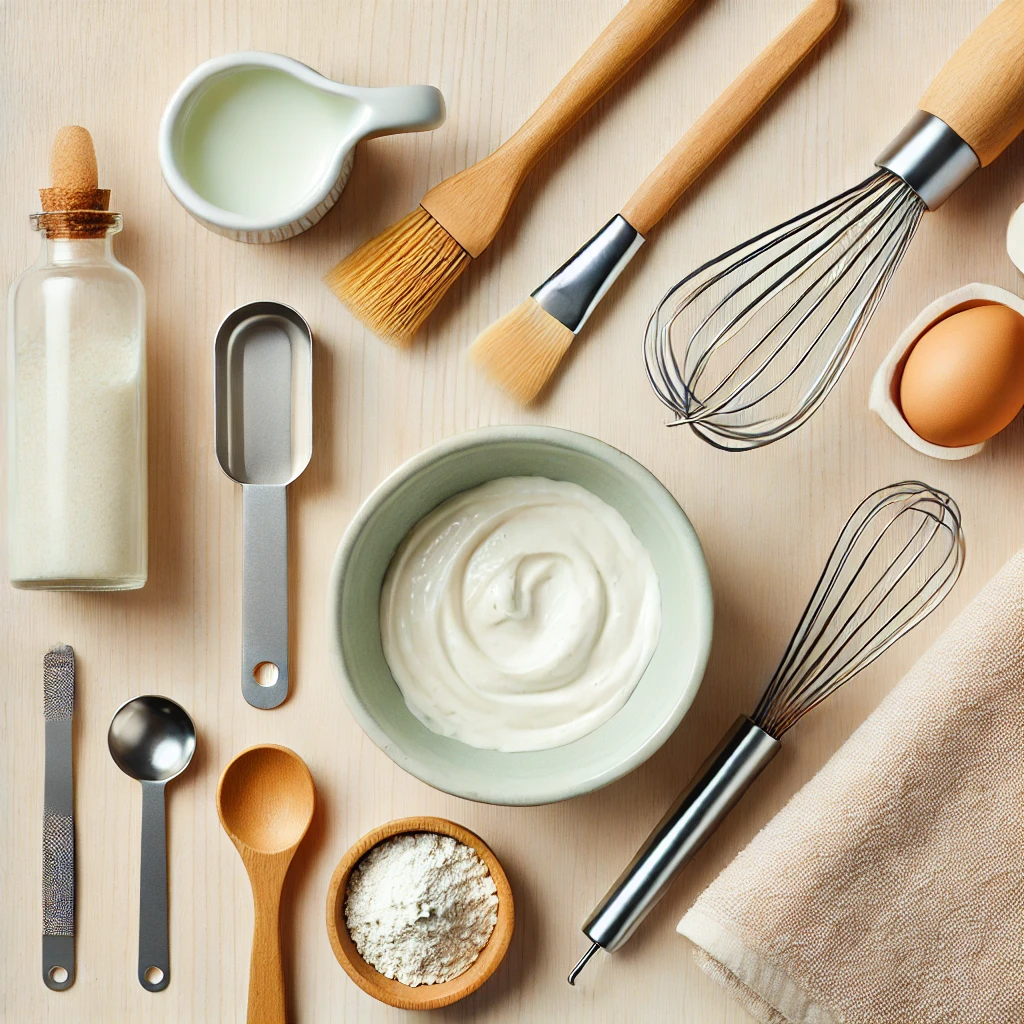
Making a face mask at home doesn’t require a lot of fancy equipment. In fact, you’ll likely have everything you need in your kitchen. Here’s a checklist of essential tools to ensure a smooth mask-making process:
1. Mixing Bowl
A small, clean bowl is essential for combining your ingredients. Glass or ceramic bowls are preferred, as they don’t react with ingredients like lemon or clay.
2. Measuring Spoons
Precise measurements ensure your mask has the right consistency and ingredient proportions.
3. Whisk or Fork
For blending your ingredients into a smooth mixture, a whisk or even a regular fork works wonders.
4. Application Brush or Spatula
Using a brush or spatula makes applying your mask easier and more hygienic. It also ensures even coverage across your face.
5. Clean Towel
A soft towel is perfect for gently patting your face dry after rinsing off the mask. Opt for a towel reserved exclusively for your face to avoid transferring bacteria.
6. Airtight Containers (Optional)
If you’re making a mask in bulk or want to save leftovers, airtight containers help keep the mixture fresh. Remember, most homemade masks should be used immediately or stored for no more than a day or two in the fridge.
5.Preparing Your Skin
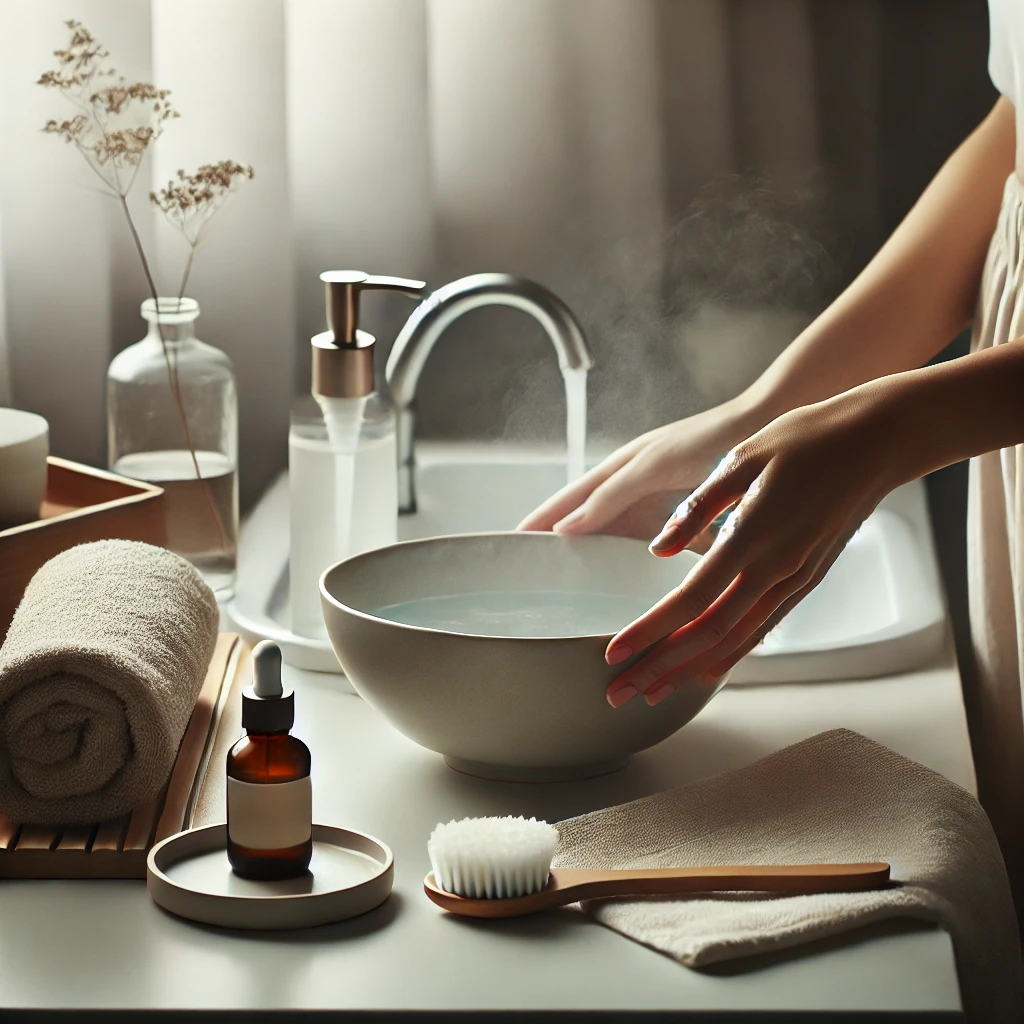
For the best results, prepping your skin before applying a face mask is crucial. Think of it as setting the stage so your mask can perform at its best. Here’s how to do it:
1. Cleanse Thoroughly
Start by washing your face with a gentle cleanser to remove dirt, oil, and makeup. This ensures the mask can penetrate your skin effectively.
2. Exfoliate (Optional)
If you haven’t exfoliated recently, consider using a mild scrub to remove dead skin cells. This step is especially useful for clay or hydrating masks.
3. Steam Your Face
Steaming helps open up your pores, making it easier for your skin to absorb the mask’s nutrients. Simply place your face over a bowl of hot water for a few minutes, covering your head with a towel to trap the steam.
4. Tie Back Your Hair
Keep your hair away from your face to avoid a sticky mess and ensure the mask goes on smoothly.
5. Do a Patch Test
Before applying the mask to your face, test it on a small area, like your wrist or jawline, to check for any allergic reactions.
6.How to Make a Face Mask: Step-by-Step Guide
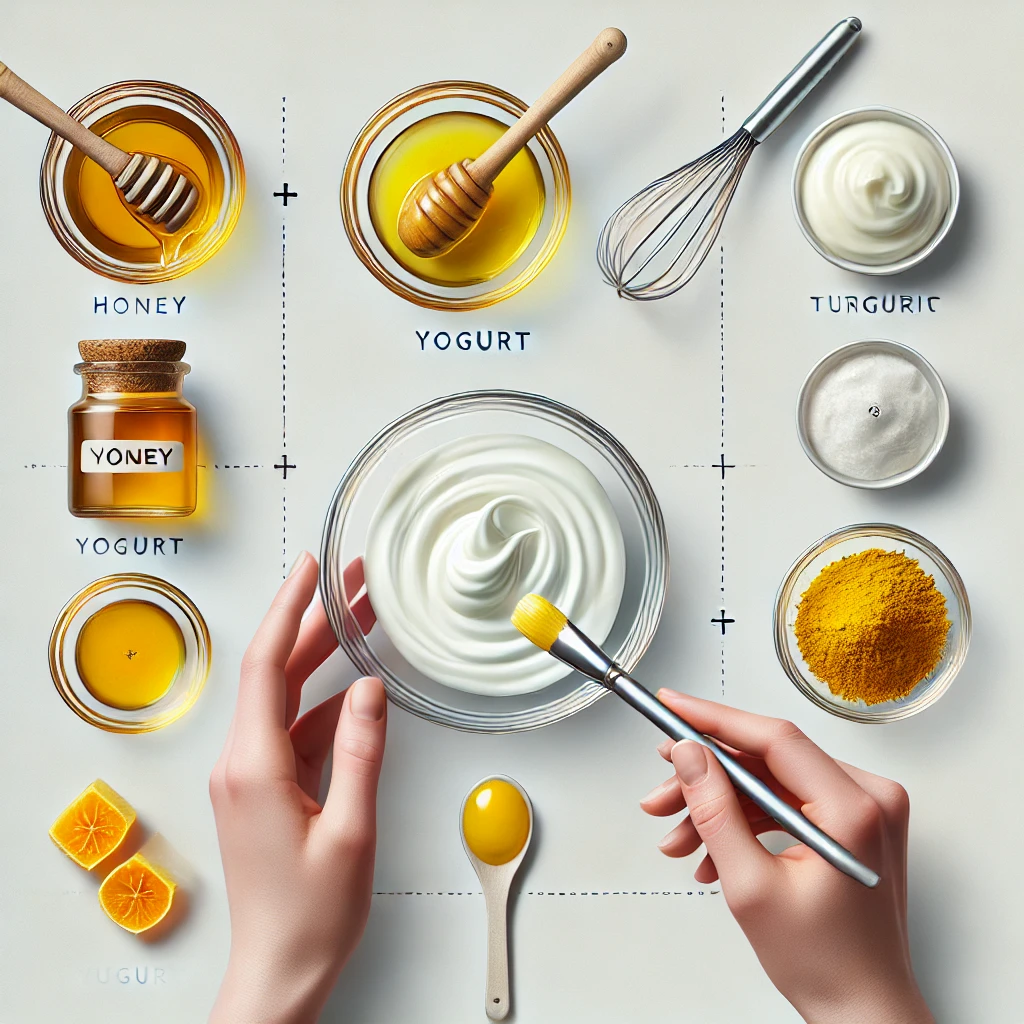
Now that your skin is prepped, it’s time to create your own face mask. Follow these simple steps to make and apply a mask that’s perfect for your skin:
Step 1: Choose Your Recipe
Pick a mask recipe based on your skin type and concerns. For example, a hydrating honey mask works wonders for dry skin, while a detoxifying clay mask suits oily skin.
Step 2: Gather Ingredients
Lay out all the ingredients you need to avoid running back and forth during the process. Fresh ingredients yield the best results.
Step 3: Mix Ingredients
Combine the ingredients in your mixing bowl. Use a whisk or fork to blend them into a smooth, paste-like consistency.
Step 4: Test for Allergies
Always perform a patch test to ensure the mask won’t irritate your skin.
Step 5: Apply Evenly
Use a brush or your fingertips to apply the mask evenly across your face, avoiding the eyes and lips.
Step 6: Let It Sit
Leave the mask on for the recommended time (usually 10–15 minutes). Relax during this time – maybe read a book or meditate.
Step 7: Rinse Off
Use lukewarm water to gently rinse the mask off your face. Follow up with a splash of cold water to close your pores.
Step 8: Moisturize
Finish your routine by applying a lightweight moisturizer to seal in the benefits of the mask.
This process is simple, enjoyable, and incredibly effective. With your homemade mask in place, you’re not just caring for your skin – you’re indulging in a well-deserved moment of self-care!
7.Face Masks for Different Skin Types
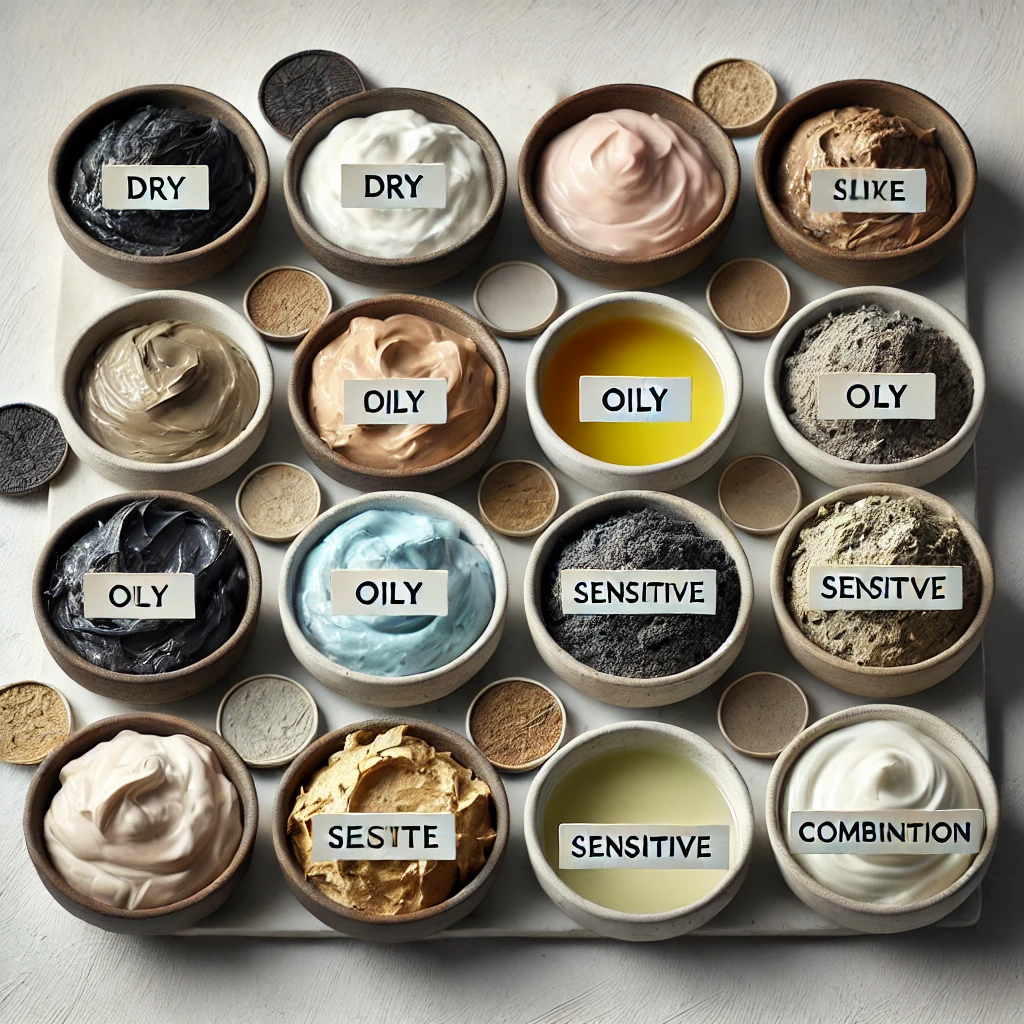
Not all skin types are the same, so your face mask should be as unique as your skin. Let’s explore the best DIY face masks for various skin types, ensuring everyone gets the TLC they need.
1. Dry Skin
If your skin feels tight or flaky, you need a mask that delivers intense hydration and nourishment.
Recipe:
- 1/2 ripe avocado
- 1 tbsp honey
- 1 tsp olive oil
Benefits: This creamy mask hydrates and soothes dry patches, leaving your skin feeling soft and supple.
2. Oily Skin
Excess oil can clog pores and lead to breakouts. A mattifying mask helps balance oil production.
Recipe:
- 2 tbsp bentonite clay
- 1 tbsp apple cider vinegar
- 1–2 drops tea tree oil
Benefits: Clay absorbs excess oil while tea tree oil fights acne-causing bacteria.
3. Sensitive Skin
Sensitive skin needs gentle, calming ingredients to avoid irritation.
Recipe:
- 2 tbsp oatmeal (finely ground)
- 1 tbsp aloe vera gel
- 1 tsp honey
Benefits: This soothing mask reduces redness and irritation while providing a calming effect.
4. Combination Skin
For those with both oily and dry areas, a balanced mask is key.
Recipe:
- 2 tbsp yogurt
- 1 tbsp honey
- 1 tsp turmeric
Benefits: Yogurt hydrates while turmeric brightens and reduces inflammation, making it perfect for combination skin.
5. Mature Skin
Aging skin benefits from masks rich in antioxidants and collagen-boosting ingredients.
Recipe:
- 1 tbsp mashed banana
- 1 tbsp yogurt
- 1 tsp vitamin E oil
Benefits: This mask firms, hydrates, and brightens, giving your skin a youthful glow.
8.Common Mistakes to Avoid

Even the best face mask won’t work if you’re making common mistakes. Avoid these pitfalls to ensure you get the most out of your DIY skincare routine:
1. Using Expired Ingredients
Fresh ingredients are key to an effective mask. Always check the expiry dates of items like yogurt, honey, or avocado before use.
2. Applying Too Close to the Eyes
The skin around your eyes is delicate and more prone to irritation. Avoid applying masks in this sensitive area.
3. Overusing Face Masks
More isn’t always better. Using a mask daily can strip your skin of its natural oils, leading to dryness or sensitivity. Stick to 1–2 times per week.
4. Skipping the Patch Test
Don’t skip this crucial step, especially if you’re trying a new ingredient. A quick test on your wrist can save you from a potential allergic reaction.
5. Leaving the Mask On for Too Long
It might be tempting to leave the mask on longer than recommended, but this can cause dryness or irritation, especially with clay or exfoliating masks.
9.Storing Homemade Face Masks
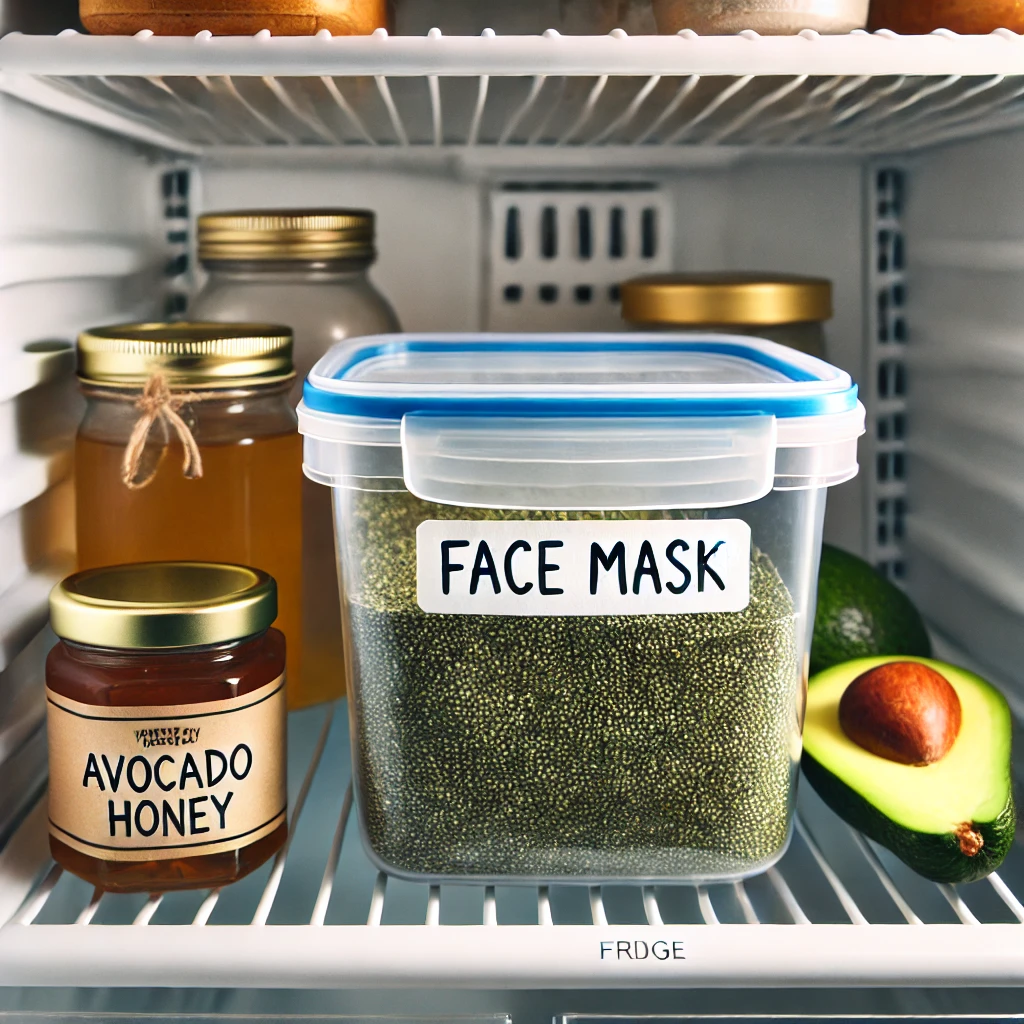
While fresh masks are always best, there are times when you might want to store leftovers. Here’s how to keep your homemade masks fresh and effective:
1. Use Airtight Containers
Store your mask in a clean, airtight container to prevent contamination.
2. Refrigerate
Keep your mask in the fridge, especially if it contains perishable ingredients like yogurt or avocado. Most masks will last 1–2 days.
3. Check Before Reuse
If the texture, smell, or color changes, it’s best to discard the mask. Freshness is key to avoiding irritation or breakouts.
10.Tips for Best Results

Want to maximize the benefits of your homemade face mask? Follow these expert tips:
- Be Consistent: Use your mask regularly for lasting results.
- Hydrate: Drink plenty of water to complement your skincare routine.
- Layer Smartly: After masking, apply your regular moisturizer to lock in the goodness.
- Time It Right: Apply masks in the evening when your skin is in repair mode.
- Relax: Treat your masking time as self-care. Light a candle, play soothing music, and make it an experience.
11.DIY Face Mask Recipes
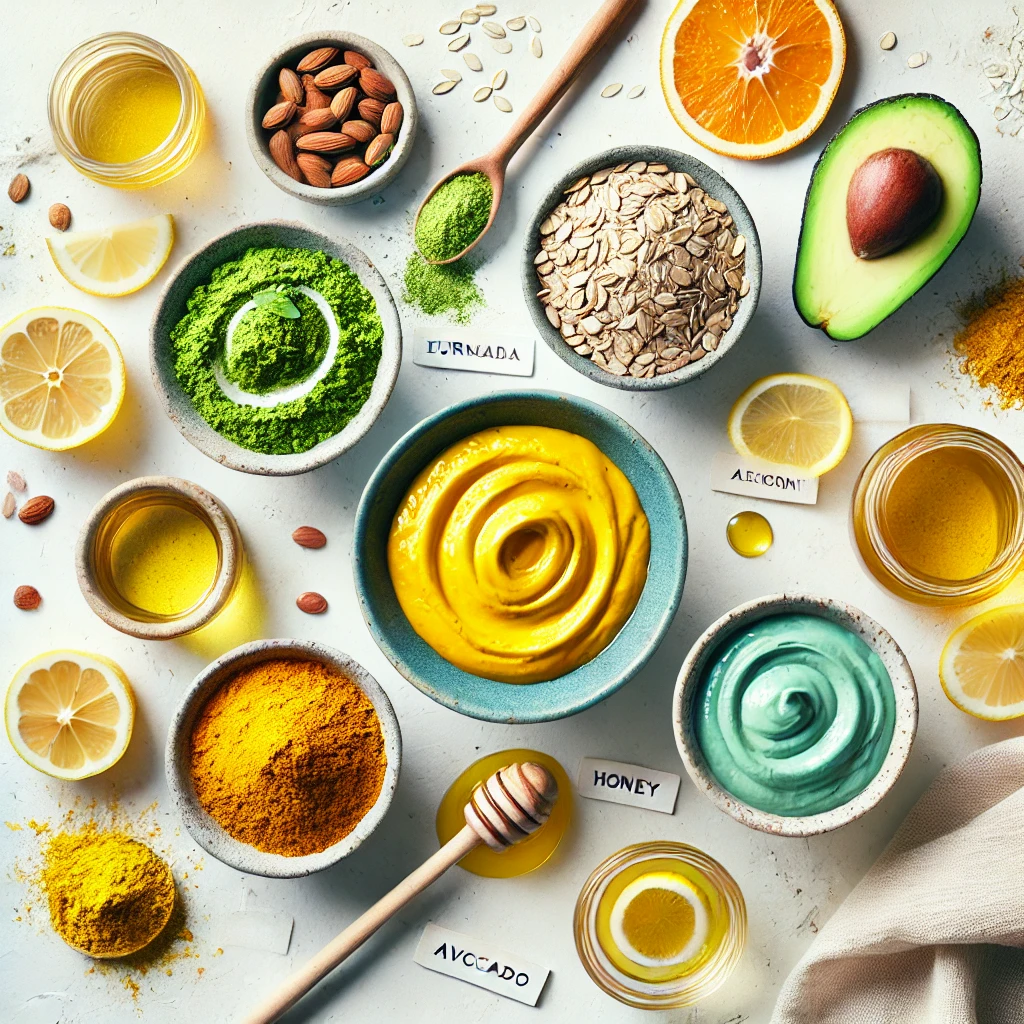
Here are some quick and easy recipes to try:
1. Hydrating Honey Mask
- Ingredients: 1 tbsp honey, 1 tsp coconut oil
- Directions: Mix and apply for 15 minutes. Rinse with warm water.
2. Brightening Turmeric Mask
- Ingredients: 1 tsp turmeric, 2 tbsp yogurt
- Directions: Mix and leave for 10 minutes. Wash off gently.
3. Exfoliating Coffee Mask
- Ingredients: 1 tbsp coffee grounds, 1 tbsp honey
- Directions: Gently massage onto your face, leave for 10 minutes, then rinse.
4. Anti-Acne Clay Mask
- Ingredients: 2 tbsp bentonite clay, 1 tbsp apple cider vinegar
- Directions: Stir until smooth, apply for 10 minutes, and rinse.
5. Calming Oatmeal Mask
- Ingredients: 2 tbsp ground oats, 1 tbsp aloe vera gel
- Directions: Combine, apply for 15 minutes, and wash off with lukewarm water.
12.Safety Precautions
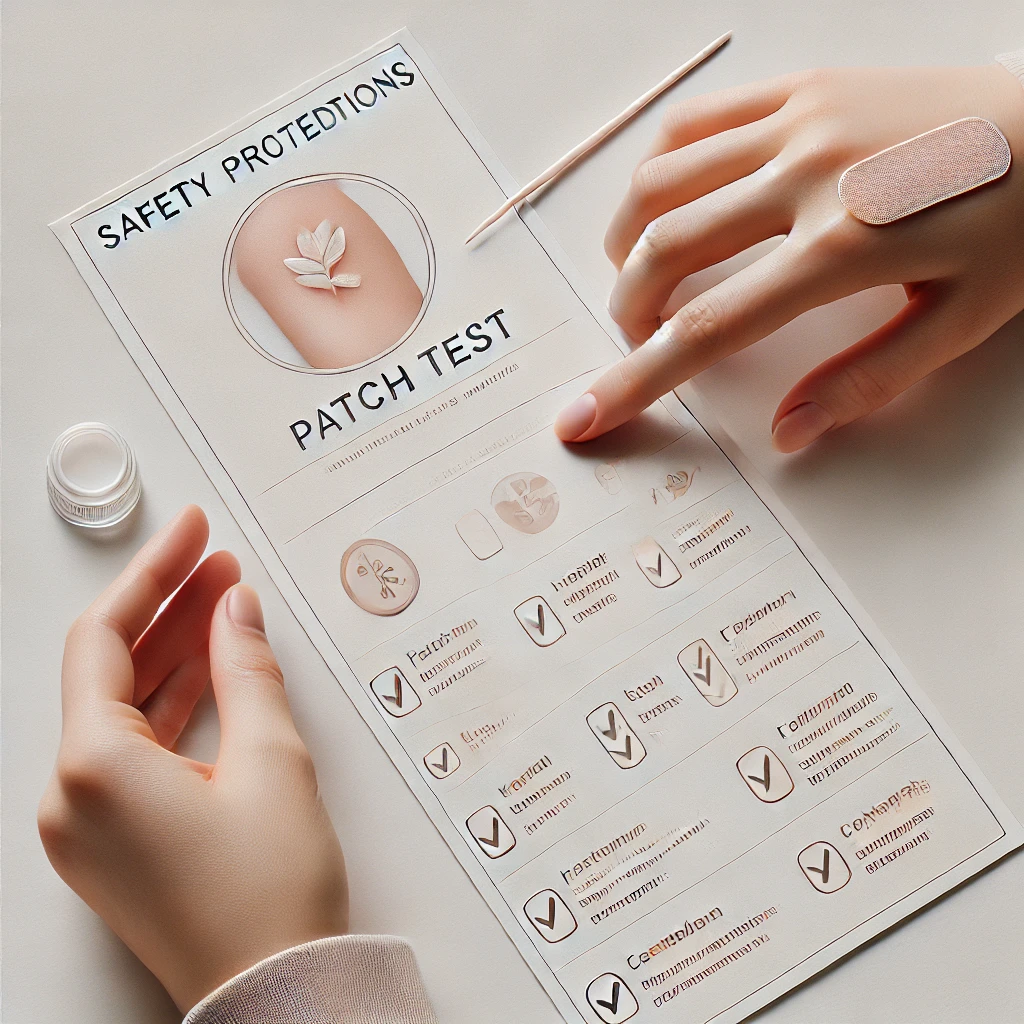
Your skin’s health is top priority. Keep these precautions in mind when making and using face masks:
- Avoid Damaged Skin: Don’t apply masks to sunburned or broken skin.
- Be Gentle: Use soft motions when applying and removing masks.
- Mind the Eyes: Never use ingredients that can irritate or sting your eyes.
- Store Safely: Refrigerate perishable masks and discard after 1–2 days.
- Patch Test Always: Test new ingredients to avoid allergic reactions.
13.How Often Should You Use a Face Mask?

For most people, using a face mask 1–2 times a week is enough. This frequency allows your skin to benefit from the concentrated ingredients without overloading it. If you have sensitive skin, consider spacing out your mask applications even further.
With all these tips, tricks, and recipes at your fingertips, you’re fully equipped to embark on a journey of creating your own face masks. Enjoy the process, and let your glowing, rejuvenated skin be the proof of your effort!
14.Signs Your Face Mask is Working

How do you know if your homemade face mask is doing its job? Here are a few telltale signs that your skin is reaping the benefits:
1. Your Skin Feels Softer
One of the immediate effects of a good face mask is smoother, softer skin. Ingredients like honey, yogurt, and avocado hydrate and nourish your skin, leaving it velvety to the touch.
2. Reduced Redness or Irritation
If your skin tends to get inflamed, a soothing mask with ingredients like oatmeal or aloe vera should leave your skin calmer and more even-toned.
3. Improved Hydration
Dry skin will feel plumper and more hydrated after using masks with moisturizing ingredients like honey or coconut oil.
4. A Healthy Glow
A good mask brings out your skin’s natural radiance. Brightening ingredients like turmeric or lemon can add that extra glow.
5. Pores Appear Smaller
While face masks don’t permanently shrink pores, cleansing masks (like clay masks) can make them appear tighter and cleaner.
Conclusion
Creating your own face mask at home isn’t just about skincare – it’s a blend of self-care, creativity, and eco-friendly living. By using natural, readily available ingredients, you can nourish your skin without relying on store-bought products filled with unnecessary chemicals. Whether you’re looking to hydrate, exfoliate, or simply relax, homemade face masks offer something for everyone.
The process is straightforward, budget-friendly, and incredibly rewarding. So, grab your ingredients, follow the steps, and enjoy the glowing results. Remember, the best skincare routines are the ones that make you feel good inside and out.
FAQs
1. Can I use a face mask every day?
While it might be tempting, using a face mask daily can irritate your skin, especially if it’s exfoliating or contains potent ingredients. Stick to 1–2 times per week.
2. Are there any ingredients I should avoid for DIY masks?
Yes, avoid using ingredients like baking soda, lemon juice in large amounts, or raw egg whites, as they can disrupt your skin’s pH or cause irritation.
3. What’s the best mask for glowing skin?
A turmeric and yogurt mask is excellent for brightening your skin and giving it a natural glow.
4. Can I store my leftover face mask?
Some masks can be stored in an airtight container in the fridge for 1–2 days, but fresh masks are always the most effective.
5. What should I do after removing a face mask?
Rinse your face thoroughly, pat it dry, and follow up with a lightweight moisturizer to lock in hydration.
With these tips, tricks, and recipes, you’re now ready to create your own skincare magic. Have fun experimenting with different ingredients, and enjoy your journey to healthy, radiant skin!
