When life gets busy, taking a moment for self-care feels like a luxury. But what if that luxury was just a few steps away in your kitchen? DIY face masks are the perfect blend of fun, functionality, and self-love. They’re not only cost-effective but also customizable to suit your skin’s unique needs. Let’s dive into the world of DIY face masks and discover how you can pamper yourself naturally.
Table of Contents
1.Why Choose a DIY Face Mask?

In a world filled with expensive skincare products, why should you consider making your own face mask? The answer is simple: DIY face masks are effective, affordable, and completely customizable.
Think about it—how many times have you read a product label and struggled to pronounce half the ingredients? When you create your own face mask, you know exactly what’s going on your skin. It’s like cooking at home instead of eating fast food: you get the quality, the control, and the satisfaction of knowing it’s fresh and tailored to your needs.
DIY face masks are also budget-friendly. A jar of face cream can cost a small fortune, but most DIY recipes use ingredients you already have in your kitchen. With items like honey, yogurt, or oatmeal, you can whip up a luxurious face mask for pennies. Plus, there’s no packaging waste—good for your skin and the planet!
Lastly, DIY face masks turn skincare into an experience. It’s not just about the results; it’s about the process. Mixing ingredients and applying your mask feels like a mini spa day, helping you relax and unwind while taking care of yourself. Why not pamper yourself the natural way?
2.Benefits of Using Natural Ingredients
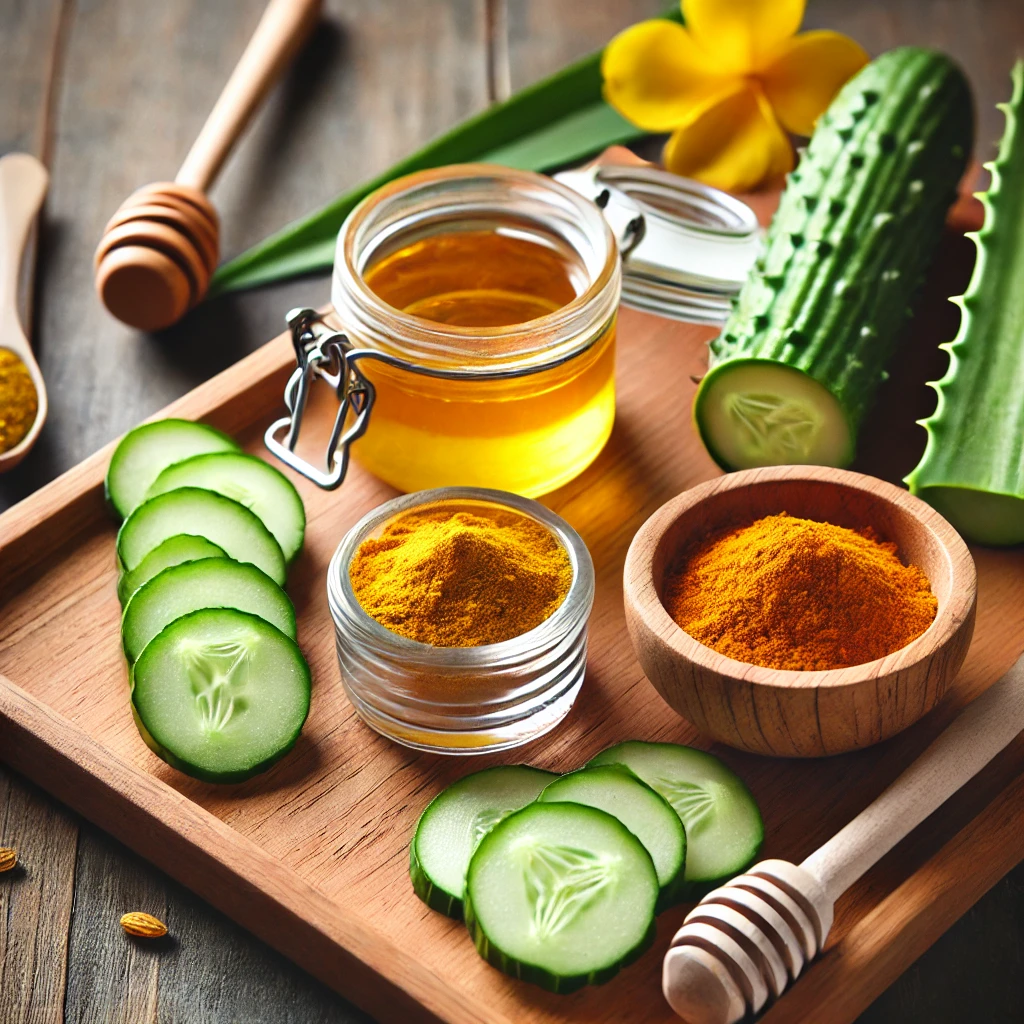
Let’s face it—nature knows best. Using natural ingredients in your DIY face mask isn’t just a trend; it’s a return to the basics of skincare. These ingredients are pure, gentle, and packed with skin-loving nutrients.
One of the biggest advantages of natural ingredients is their ability to nourish your skin without causing harm. Ingredients like honey, avocado, and cucumber are rich in vitamins, antioxidants, and enzymes that rejuvenate and protect your skin. Unlike synthetic products, these natural wonders don’t strip your skin of its essential oils.
Another benefit is avoiding harsh chemicals and preservatives. Many store-bought skincare products contain synthetic additives that can irritate sensitive skin. When you use natural ingredients, you sidestep these potential irritants, giving your skin a break from chemicals it doesn’t need.
Finally, using natural ingredients is an eco-friendly choice. By skipping single-use plastic containers and harmful production processes, you reduce your environmental footprint. Plus, most of these ingredients are biodegradable, making them safe for you and the planet.
Natural ingredients are like a gentle hug for your skin—soothing, healing, and 100% real. Who wouldn’t want that?
3.Essential Ingredients for DIY Face Masks
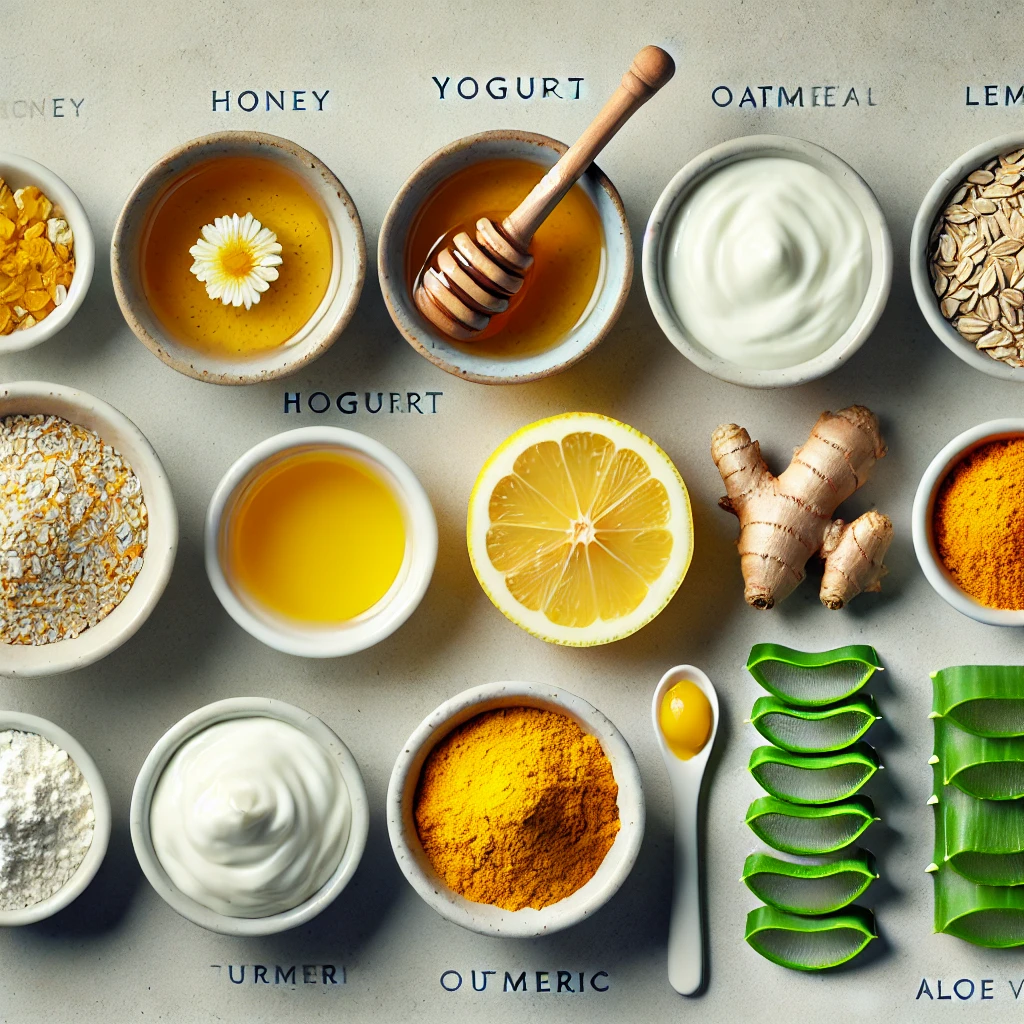
Creating the perfect DIY face mask starts with choosing the right ingredients. These pantry staples and natural goodies pack a punch when it comes to skincare. Let’s explore some must-haves for your next at-home spa session:
- Honey: Known as nature’s moisturizer, honey is a humectant, meaning it draws moisture into your skin. It also has antibacterial properties that make it excellent for acne-prone skin.
- Yogurt: Rich in lactic acid, yogurt gently exfoliates dead skin cells while softening and smoothing your complexion.
- Oatmeal: Ideal for sensitive skin, oatmeal reduces redness, soothes irritation, and leaves your skin feeling calm and nourished.
- Lemon: This citrus fruit is a natural astringent and brightening agent, helping to fade dark spots and even out your skin tone.
- Turmeric: A powerful anti-inflammatory, turmeric fights acne and reduces redness, leaving your skin with a healthy glow.
- Avocado: Packed with healthy fats and vitamins, avocado deeply hydrates and replenishes dry, tired skin.
- Aloe Vera: Known for its cooling properties, aloe vera is a lifesaver for soothing sunburned or sensitive skin.
- Coffee Grounds: An excellent exfoliant, coffee removes dead skin cells and leaves your skin feeling refreshed and rejuvenated.
Having these ingredients on hand ensures that no matter your skin concern, you’ll be ready with a quick and easy solution.
4.How to Identify Your Skin Type
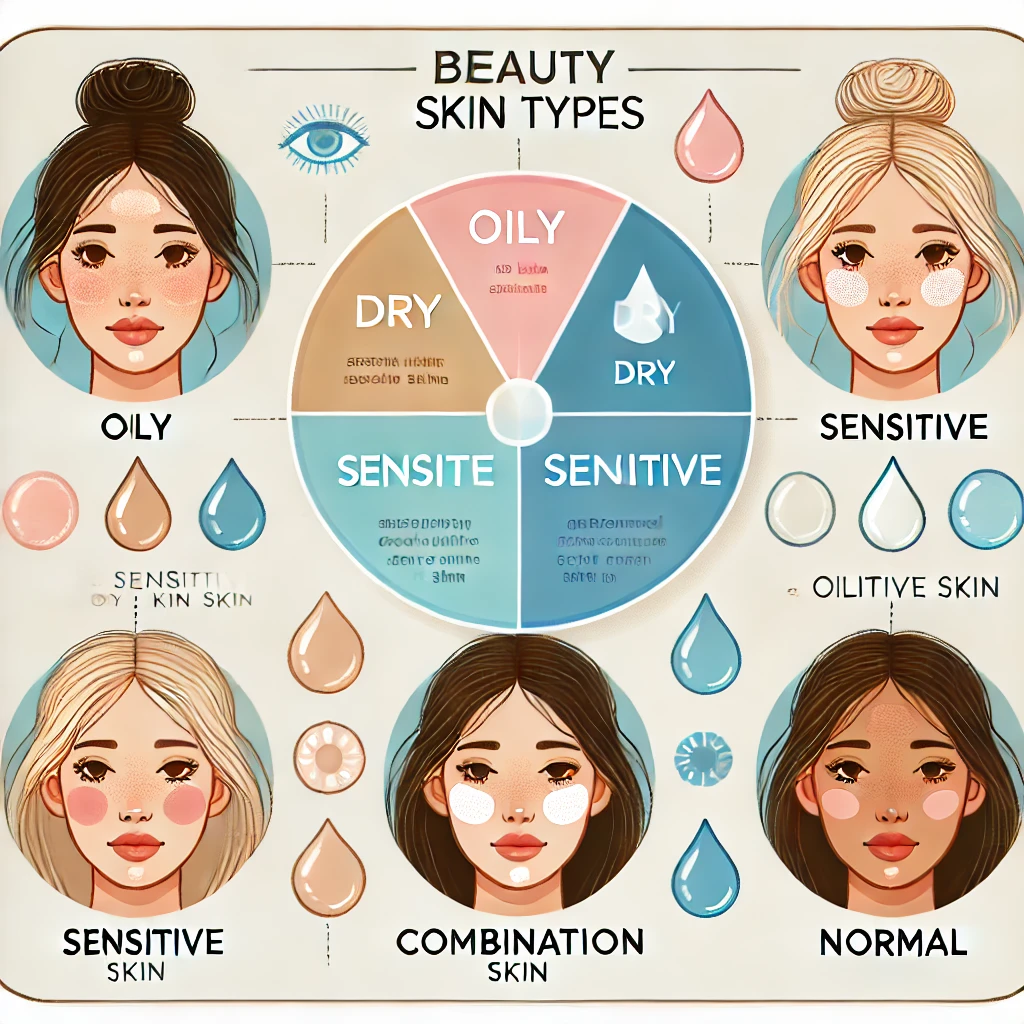
Before diving into DIY face masks, it’s crucial to understand your skin type. Why? Because the right mask can work wonders, but the wrong one might leave your skin feeling worse. Here’s a simple guide to help you figure it out:
- Oily Skin: Does your skin shine like a beacon by midday? Are your pores larger and more visible? If yes, you likely have oily skin. Look for ingredients like clay or lemon to absorb excess oil.
- Dry Skin: Does your face feel tight and rough, especially after washing? Dry skin often needs hydrating and soothing ingredients like honey or avocado.
- Combination Skin: If your T-zone (forehead, nose, and chin) feels oily while your cheeks feel dry, you have combination skin. Masks that balance oil and hydrate simultaneously are ideal.
- Sensitive Skin: Does your skin get red, itchy, or irritated easily? Opt for calming ingredients like aloe vera and oatmeal.
- Normal Skin: If your skin feels balanced—not too dry, not too oily—you’re one of the lucky ones. Feel free to experiment with a variety of masks.
Knowing your skin type makes all the difference in customizing your DIY face masks. Think of it as choosing the perfect recipe for your skincare needs!
5.DIY Face Mask Recipes for Oily Skin
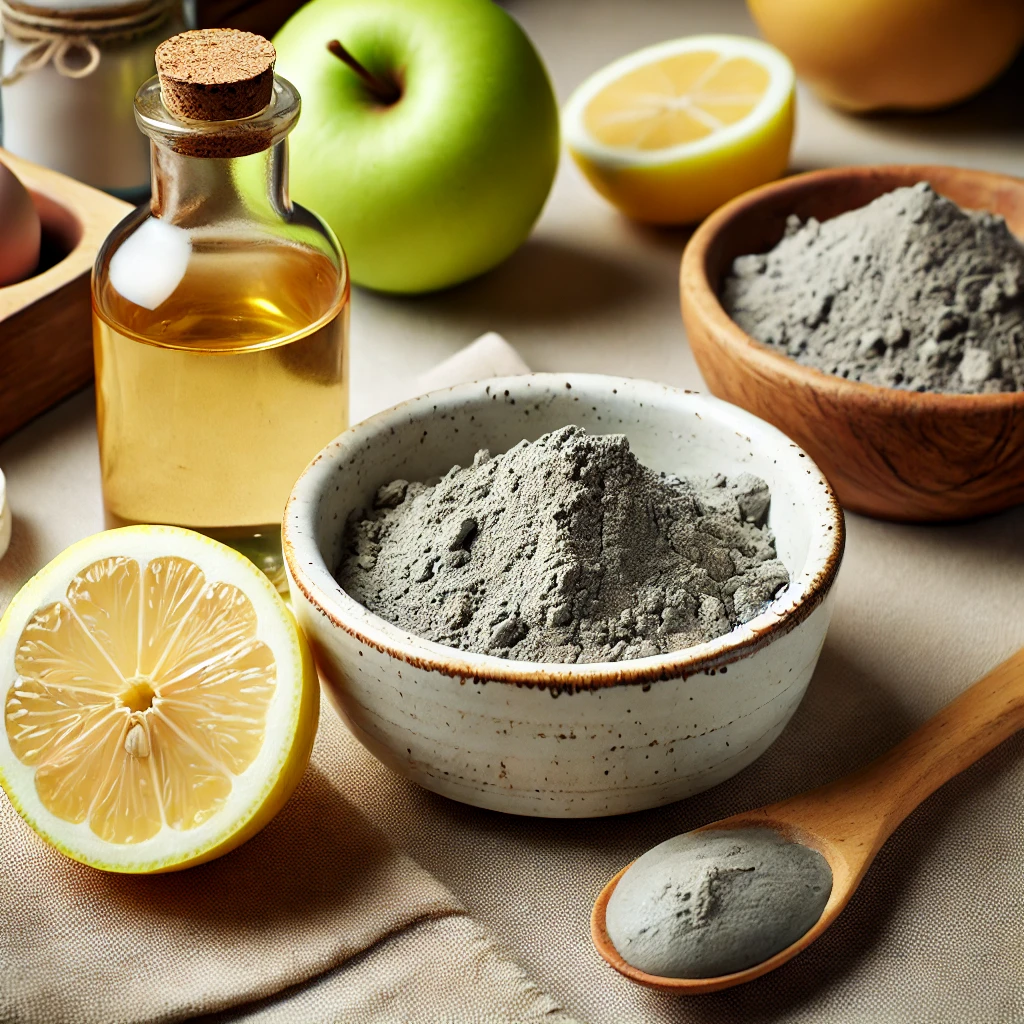
Struggling with excess oil and pesky breakouts? These masks are specifically designed to tackle oily skin:
- Clay Mask: Mix 2 tablespoons of bentonite clay with 2 tablespoons of apple cider vinegar. This mask draws out impurities, absorbs oil, and tightens pores.
- Egg White and Lemon Mask: Beat one egg white until frothy and add a teaspoon of lemon juice. This combo helps shrink pores and mattify your skin.
Both masks are quick to make and leave your skin feeling fresh and clean.
6.Hydrating Face Masks for Dry Skin
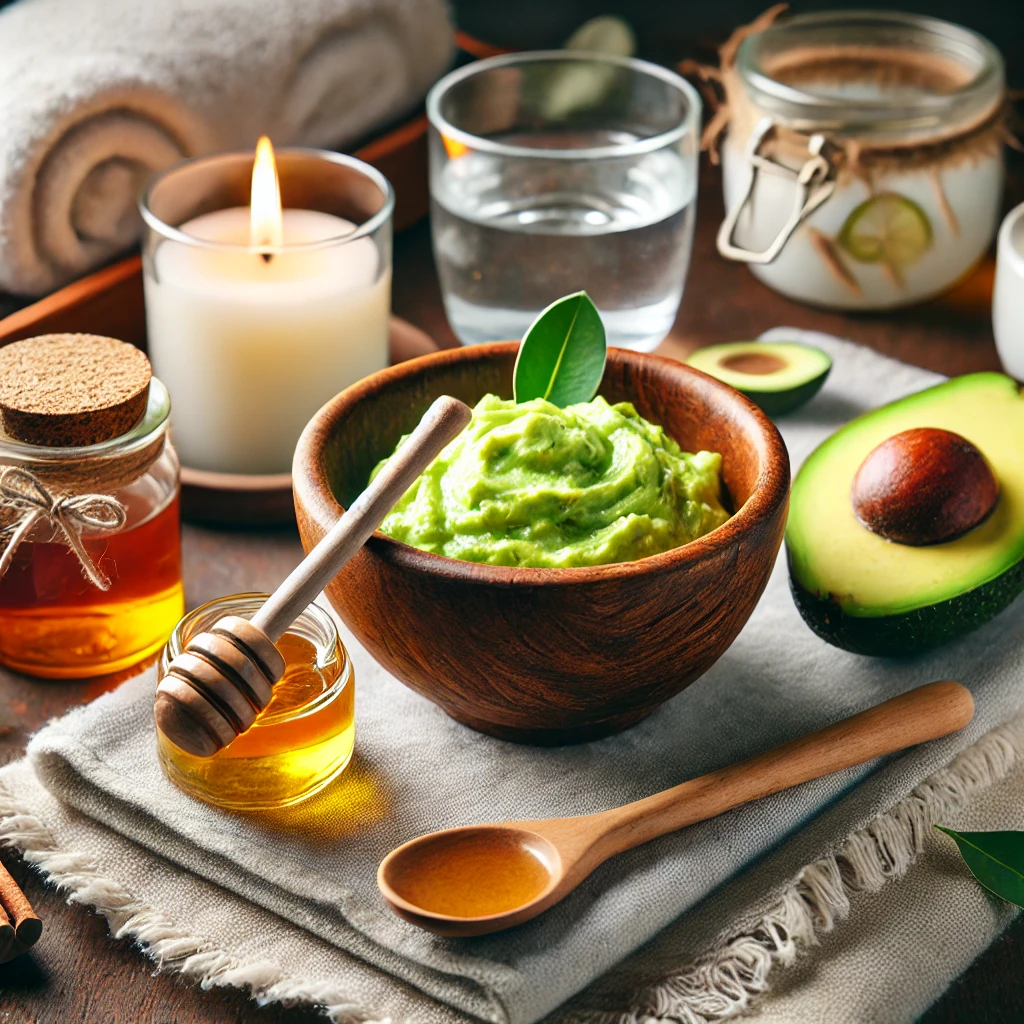
Dry skin craves moisture, and these masks deliver:
- Avocado and Honey Mask: Mash half an avocado and mix it with 1 tablespoon of honey. This rich, creamy mask hydrates and softens your skin.
- Coconut Milk and Oatmeal Mask: Combine 2 tablespoons of coconut milk with 1 tablespoon of ground oatmeal. This gentle mask soothes dry patches while locking in moisture.
Say goodbye to flaky skin and hello to a radiant, hydrated complexion!
7.Soothing Masks for Sensitive Skin
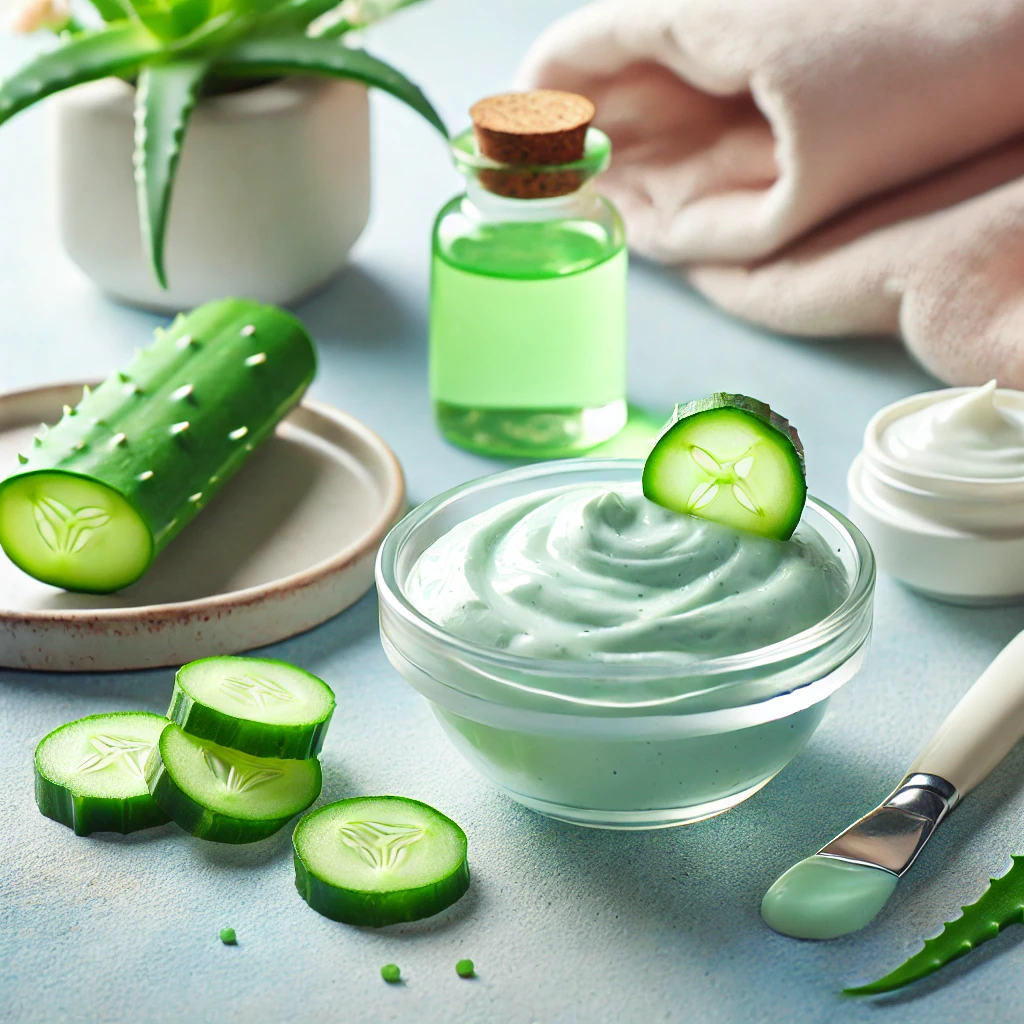
Sensitive skin needs extra TLC, and these masks are up to the task:
- Cucumber and Aloe Vera Mask: Blend half a cucumber with 2 tablespoons of aloe vera gel. This ultra-cooling mask calms redness and irritation.
- Chamomile Tea and Oatmeal Mask: Brew a cup of chamomile tea, let it cool, and mix it with ground oatmeal. This soothing mixture reduces inflammation and nourishes delicate skin.
These masks are gentle yet effective, making them perfect for sensitive skin types.
8.Anti-Aging DIY Face Masks
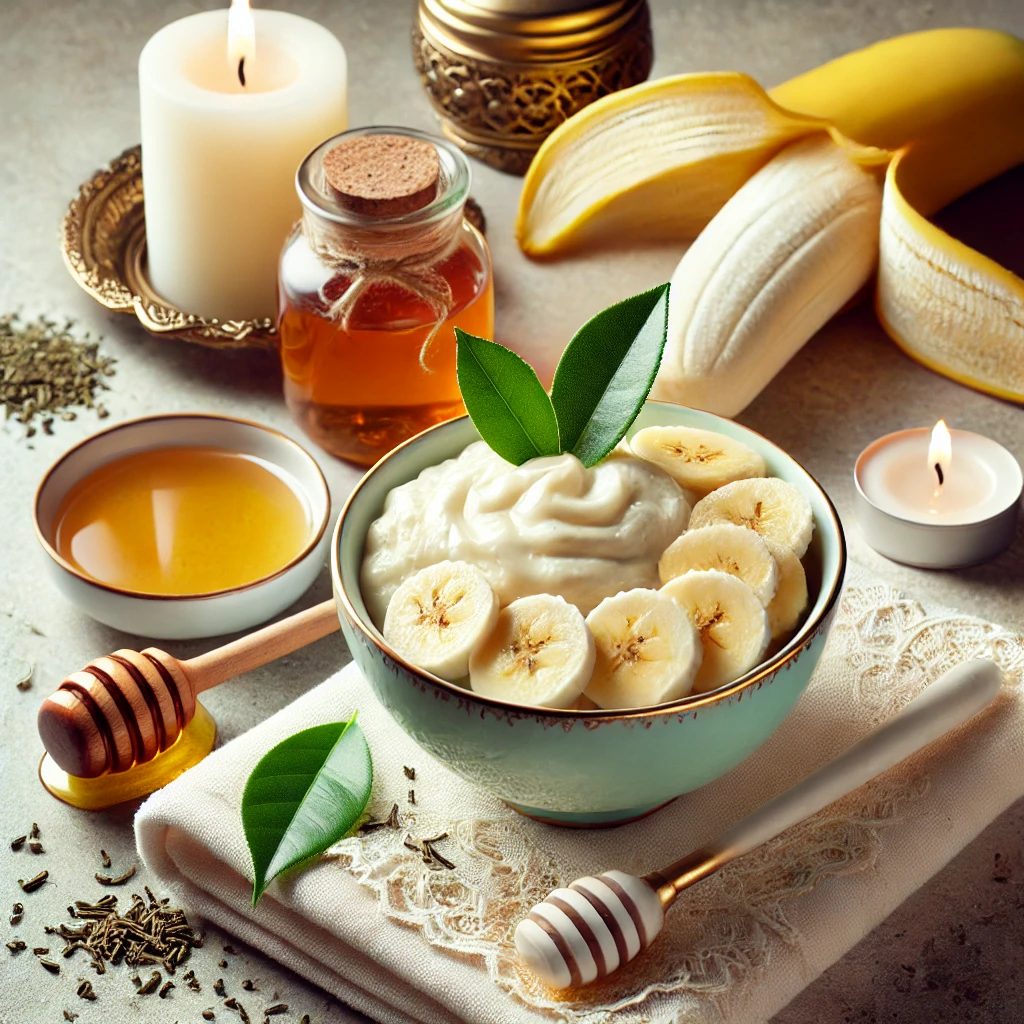
Looking to maintain a youthful glow? These anti-aging masks are rich in antioxidants and skin-tightening ingredients:
- Banana and Honey Mask: Mash half a banana and mix it with 1 tablespoon of honey. This mask boosts collagen production and helps reduce fine lines.
- Green Tea and Rice Flour Mask: Mix 2 tablespoons of brewed green tea with 1 tablespoon of rice flour. This exfoliating mask brightens skin and fights signs of aging.
9.Exfoliating Masks for Clear Skin
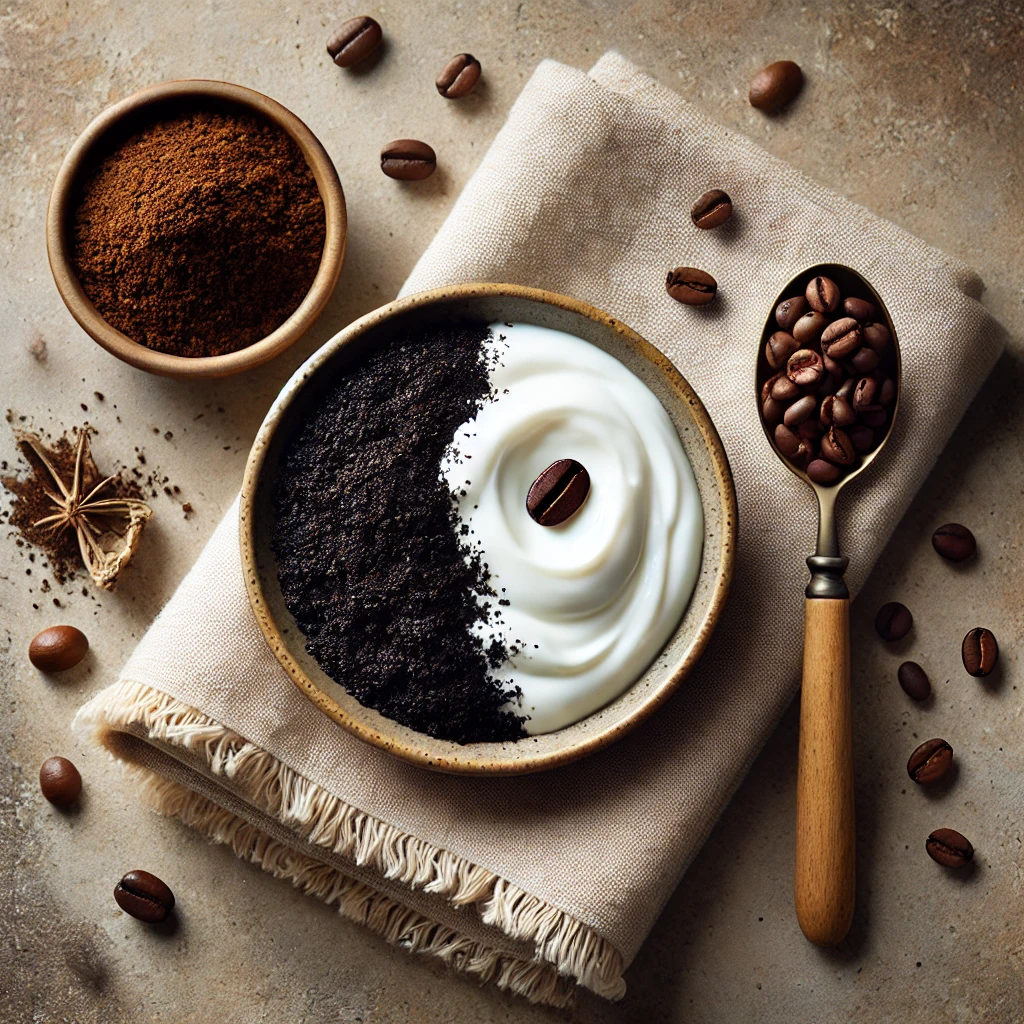
Exfoliation is key to achieving a glowing complexion by removing dead skin cells and unclogging pores. These DIY masks are gentle yet effective for a brighter, smoother look:
- Sugar and Olive Oil Scrub: Mix 1 tablespoon of sugar with 1 tablespoon of olive oil. This mask gently exfoliates while moisturizing, leaving your skin silky smooth.
- Coffee and Yogurt Mask: Combine 1 tablespoon of coffee grounds with 2 tablespoons of plain yogurt. The coffee energizes your skin while the yogurt provides gentle exfoliation and hydration.
Use these masks weekly to maintain a clear and polished appearance.
10.Tips for Applying a DIY Face Mask
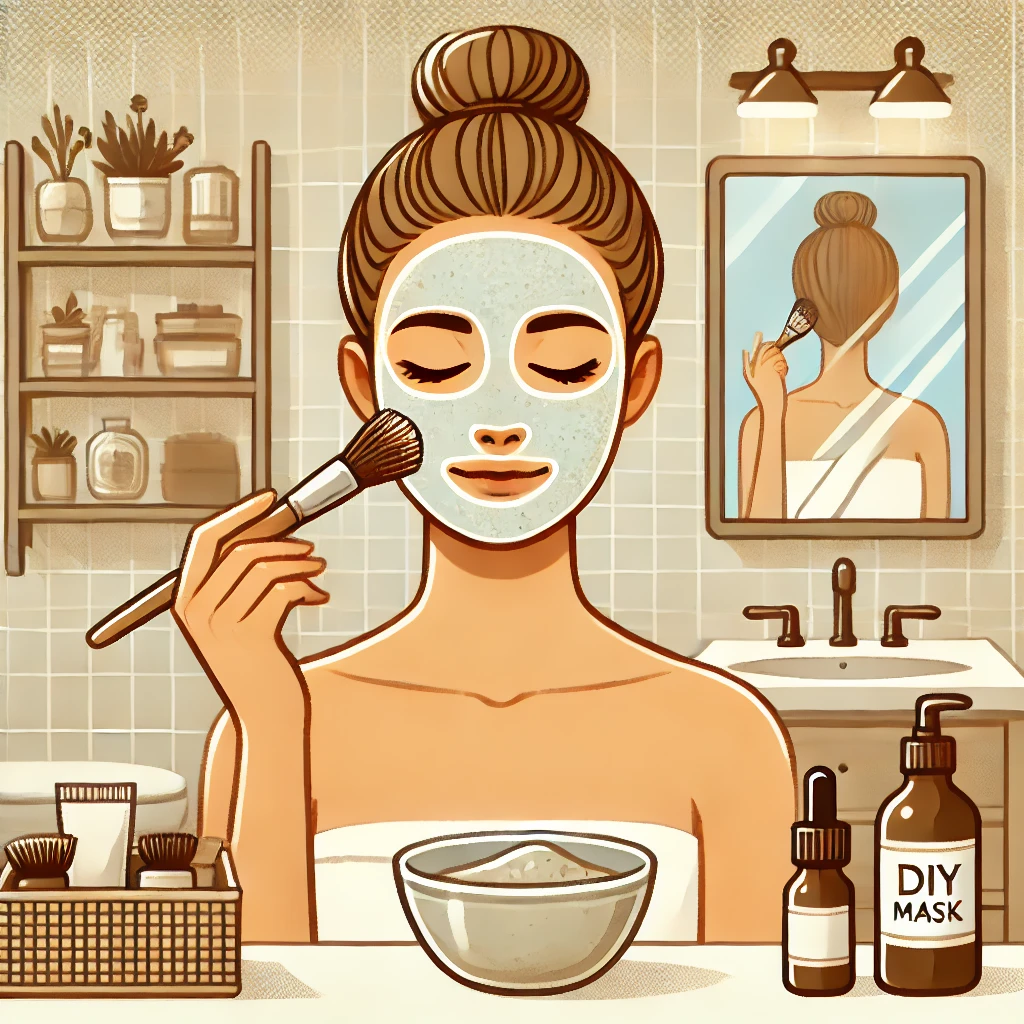
Maximize the benefits of your DIY face mask by following these tips:
- Start with a clean face: Wash your skin with a gentle cleanser to remove dirt, oil, and makeup. This ensures the mask penetrates deeply.
- Apply evenly: Use clean fingers or a brush to spread the mask across your face, avoiding the eye and lip areas.
- Relax while it sets: Allow the mask to sit for 15-20 minutes. Take this time to unwind, read a book, or meditate.
- Rinse properly: Use lukewarm water to wash off the mask, then pat your face dry with a clean towel.
- Follow up with skincare: Apply a toner, serum, or moisturizer to lock in the benefits of the mask.
By following these steps, your DIY mask sessions will feel like a spa treatment every time.
11.Common Mistakes to Avoid

Even with the best intentions, mistakes can happen. Avoid these common pitfalls to ensure your DIY face mask experience is a success:
- Skipping a patch test: Always test a small amount of the mask on your wrist or behind your ear to check for allergies or sensitivities.
- Overusing masks: Using masks too often can strip your skin of natural oils, leading to irritation. Stick to 1-2 times per week.
- Using inappropriate ingredients: Choose ingredients that match your skin type and avoid those that can irritate, like overly acidic or abrasive items.
- Leaving the mask on too long: Follow the recommended time. Leaving masks on for too long can dry out or irritate your skin.
- Not cleaning tools or hands: Always use clean utensils and wash your hands before preparing and applying the mask to avoid introducing bacteria.
Avoiding these mistakes will ensure a safe and beneficial experience for your skin.
12.How Often Should You Use a DIY Mask?
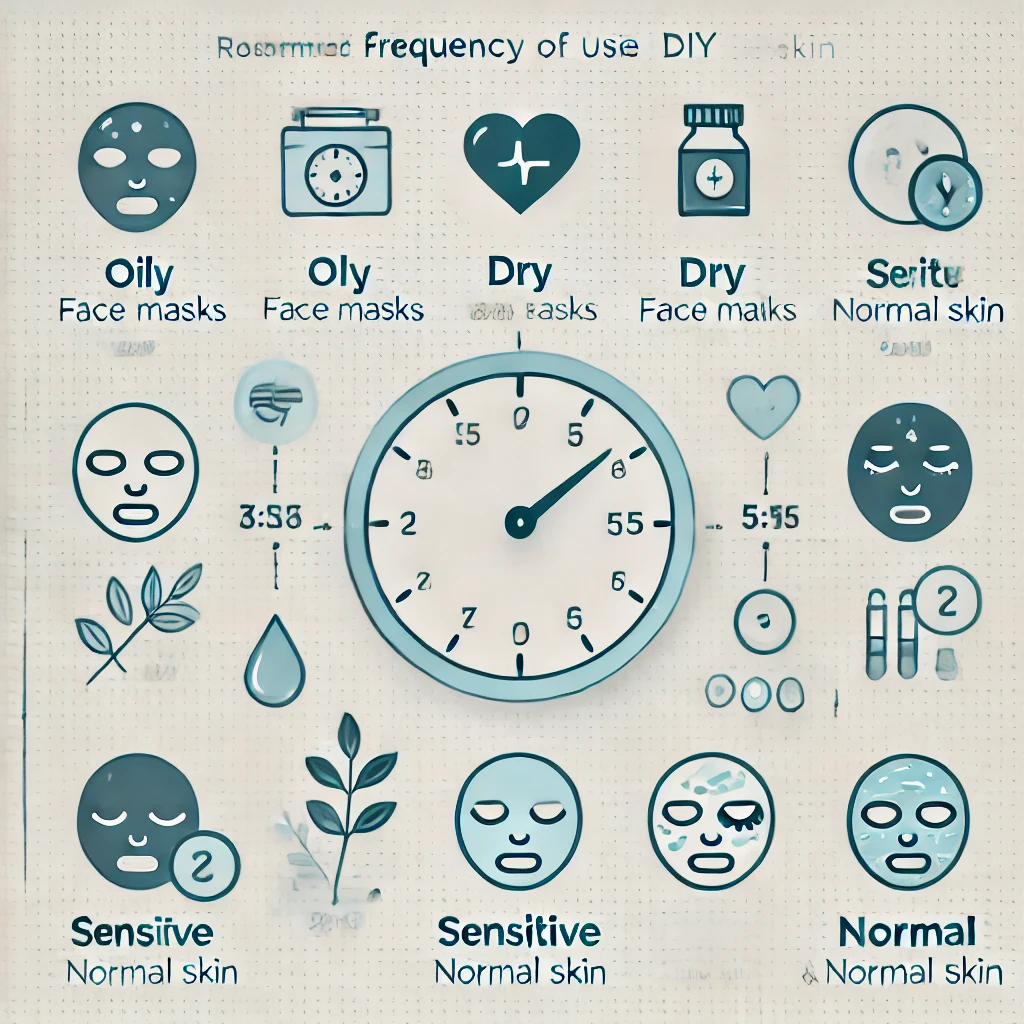
The frequency of using a DIY face mask depends on your skin type and the purpose of the mask:
- Oily Skin: Exfoliating or oil-absorbing masks can be used 2-3 times a week.
- Dry Skin: Hydrating masks are best 1-2 times a week to avoid over-moisturizing.
- Sensitive Skin: Stick to once a week with soothing ingredients to prevent irritation.
- Normal Skin: Use masks as needed, typically 1-2 times a week.
Consistency is key to achieving and maintaining the benefits of a DIY face mask. Overdoing it can cause more harm than good.
13.The Science Behind DIY Face Masks
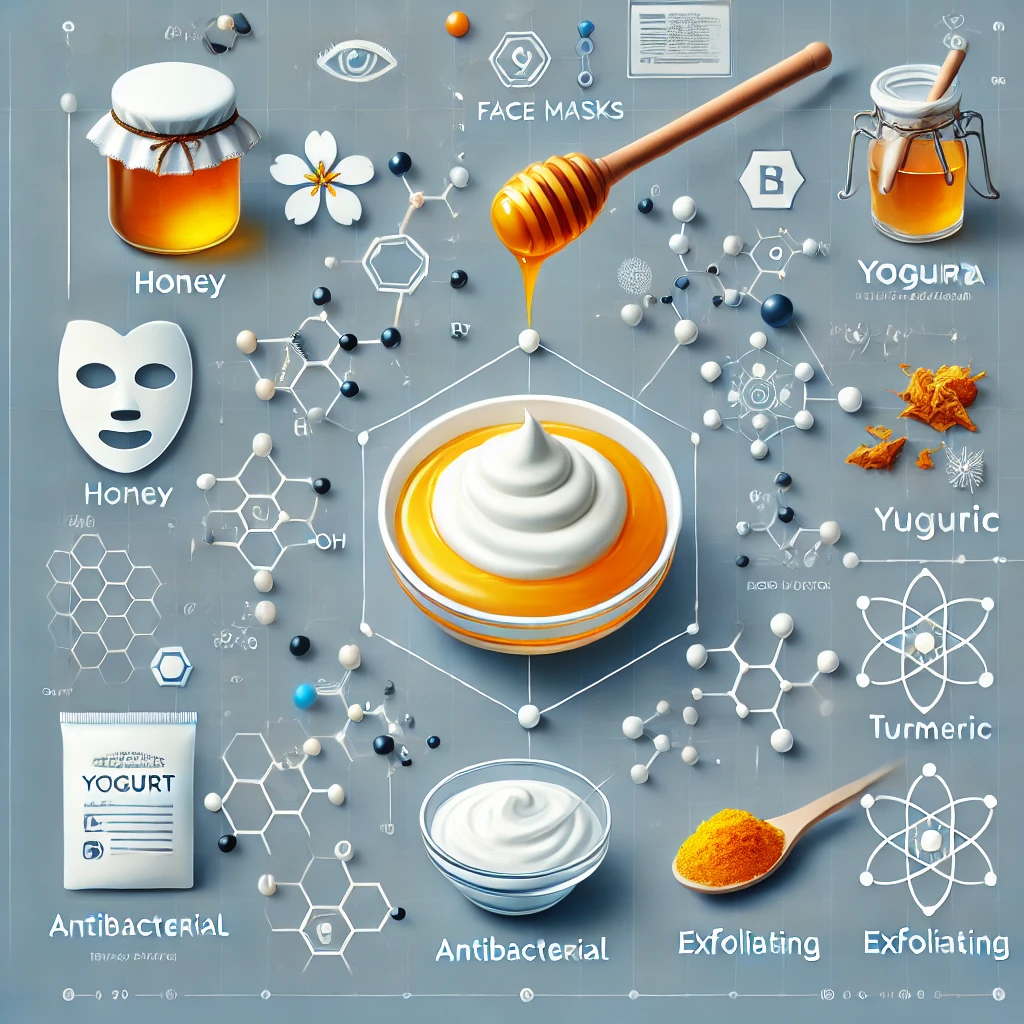
DIY face masks aren’t just feel-good rituals—they’re backed by science. Here’s how some common ingredients work their magic:
- Honey: Its natural humectant properties draw moisture into the skin, while its antibacterial action helps fight acne-causing bacteria.
- Yogurt: The lactic acid in yogurt gently exfoliates, promoting cell turnover and reducing the appearance of fine lines.
- Oatmeal: Oats contain avenanthramides, compounds that reduce inflammation and soothe irritation.
- Turmeric: Curcumin, the active ingredient in turmeric, is a powerful antioxidant that brightens skin and fights free radicals.
Understanding the science behind these ingredients adds another layer of appreciation for your DIY creations.
14.DIY Face Mask Kits: Are They Worth It?

DIY face mask kits have gained popularity for their convenience. But are they a good alternative to making masks from scratch? Let’s weigh the pros and cons:
Pros:
- Pre-measured ingredients save time.
- Instructions are beginner-friendly.
- Often include tools like mixing bowls and applicators.
Cons:
- Less customizable than homemade recipes.
- Can be more expensive than sourcing your ingredients.
- May still include preservatives for shelf stability.
If you’re new to DIY masks or need something quick and hassle-free, kits are a great option. However, if you enjoy experimenting with ingredients and tailoring masks to your specific needs, making them from scratch is the way to go.
Conclusion
DIY face masks are a wonderful way to care for your skin while embracing natural ingredients. They’re affordable, effective, and allow you to customize your skincare routine. Whether your skin needs hydration, exfoliation, or calming relief, there’s a DIY recipe for you.
Beyond the beauty benefits, crafting your own face masks is a relaxing and empowering ritual. It’s self-care that not only makes your skin glow but also uplifts your spirit. So, grab those kitchen staples and give your skin the love it deserves!
FAQs
1. Can I use a DIY face mask every day?
No, it’s best to use DIY face masks 1-2 times a week to prevent over-exfoliation or irritation.
2. What’s the easiest DIY face mask for beginners?
A simple honey mask is great for beginners. Apply raw honey directly to clean skin, leave it on for 15 minutes, and rinse off.
3. Are DIY face masks effective for acne?
Yes, ingredients like honey, turmeric, and tea tree oil can help reduce acne and soothe inflammation.
4. Can I store leftover DIY face masks?
Masks with fresh ingredients like fruit or yogurt should be used immediately, while others (e.g., honey-based) can be stored in the fridge for a day or two.
5. What’s the best DIY mask for glowing skin?
A turmeric and yogurt mask is excellent for achieving a radiant glow. Mix 1 teaspoon of turmeric with 2 tablespoons of yogurt, apply, and rinse after 15 minutes.


1 thought on “DIY Face Mask: Natural Skincare You Can Make at Home”